RStudio Server LAN party: Laptop+Router+Docker to serve RStudio offline
TLDR: You can teach R on people’s own laptops without having them install anything or require an internet connection.

Members of the Surgical Informatics team in Ghana, 2019. More information: surgicalinformatics.org
Introduction
Running R programming courses on people’s own laptops is a pain, especially as we use a lot of very useful extensions that actually make learning and using R much easier and more fun. But long installation instructions can be very off-putting for complete beginners, and people can be discouraged to learn programming if installation hurdles invoke their imposter syndrome.
We almost always run our courses in places with a good internet connection (it does not have to be super fast or flawless), so we get our students all set up on RStudio Server (hosted by us) or https://rstudio.cloud (a free service provided by RStudio!). You connect to either of these options using a web browser, and even very old computers can handle this. That’s because the actual computations happen on the server and not on the student’s computer. So the computer just serves as a window to the training instance used.
Now, these options work really well as long as you have a stable internet connection. But for teaching R offline and on people’s own laptops, you either have to:
- make sure everyone installs everything correctly before they attend the course
- Download all the software and extensions, put them on USB sticks and try to install them together at the start
- start serving RStudio from a your computer using Local Area Network (LAN) created by a router
Now, we already discussed why the first option is problematic (gatekeeper for complete beginners). The second option - installing everything at the start together - means that you start the course with the most boring part. And since everyone’s computers are different (both by operating systems as well as different versions of the operating systems), this can take quite a while to sort. Therefore, queue in option c) - an RStudio Server LAN party.
Requirements
- A computer with more than 4GB of RAM. macOS alone uses around 2-3GB just to keep going, and running the RStudio Server docker container was using another 3-4 GB, so you’ll definitely need more than 4GB in total.
- A network router. For a small number of participants, the same one you already have at home will work. Had to specify “network” here, as apparently, even my Google search for “router” suggests the power tool before network routers.
- Docker - free software, dead easy to install on macOS (search the internet for “download Docker”). Looks like installation on the Windows Home operating system might be trickier. If you are a Windows Home user who is using Docker, please do post a link to your favourite instructions in the comments below.
- Internet connection for setting up - to download RStudio’s docker image and install your extra packages.

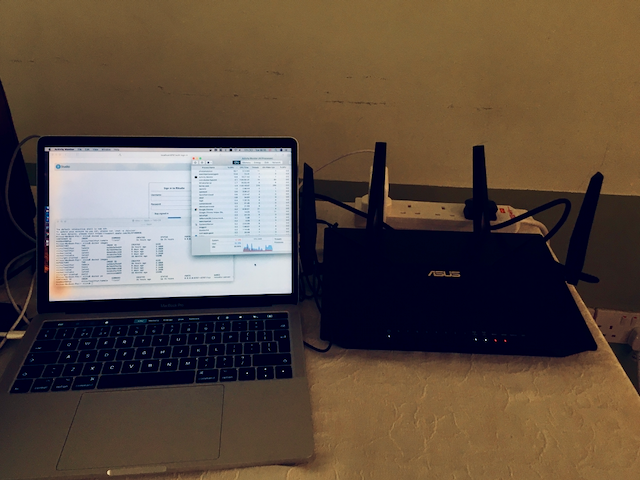
My MacBook Pro serving RStudio to 10 other computers in Ghana, November 2019.
Set-up
Running RStudio using Docker is so simple you won’t believe me. It honestly is just a single-liner to be entered into your Terminal (Command Prompt on Windows):
docker run -d -p 8787:8787 -e ROOT=TRUE -e USER=user -e PASSWORD=password rstudio/verse This will automatically download a Docker image put together by RStudio. The one called verse includes all the tidyverse packages as well as publishing-related ones (R Markdown, Shiny, etc.). You can find a list of the difference ones here: https://github.com/rocker-org/rocker
Then open a browser and go to localhost:8787 and you should be greeted with an RStudio Server login! (Localhost only works on a Mac or Linux, if using Windows, take a note of your IP address and use that instead of localhost.) More information and instructions can be found here: https://github.com/rocker-org/rocker/wiki/Using-the-RStudio-image
Tip: RStudio suggests port 8787, which is what I used for consistency, but if you set it up on 80 you can omit the :80 as that’s the default anyway. So you can just go to localhost (or something like 127.0.0.0 if using Windows).
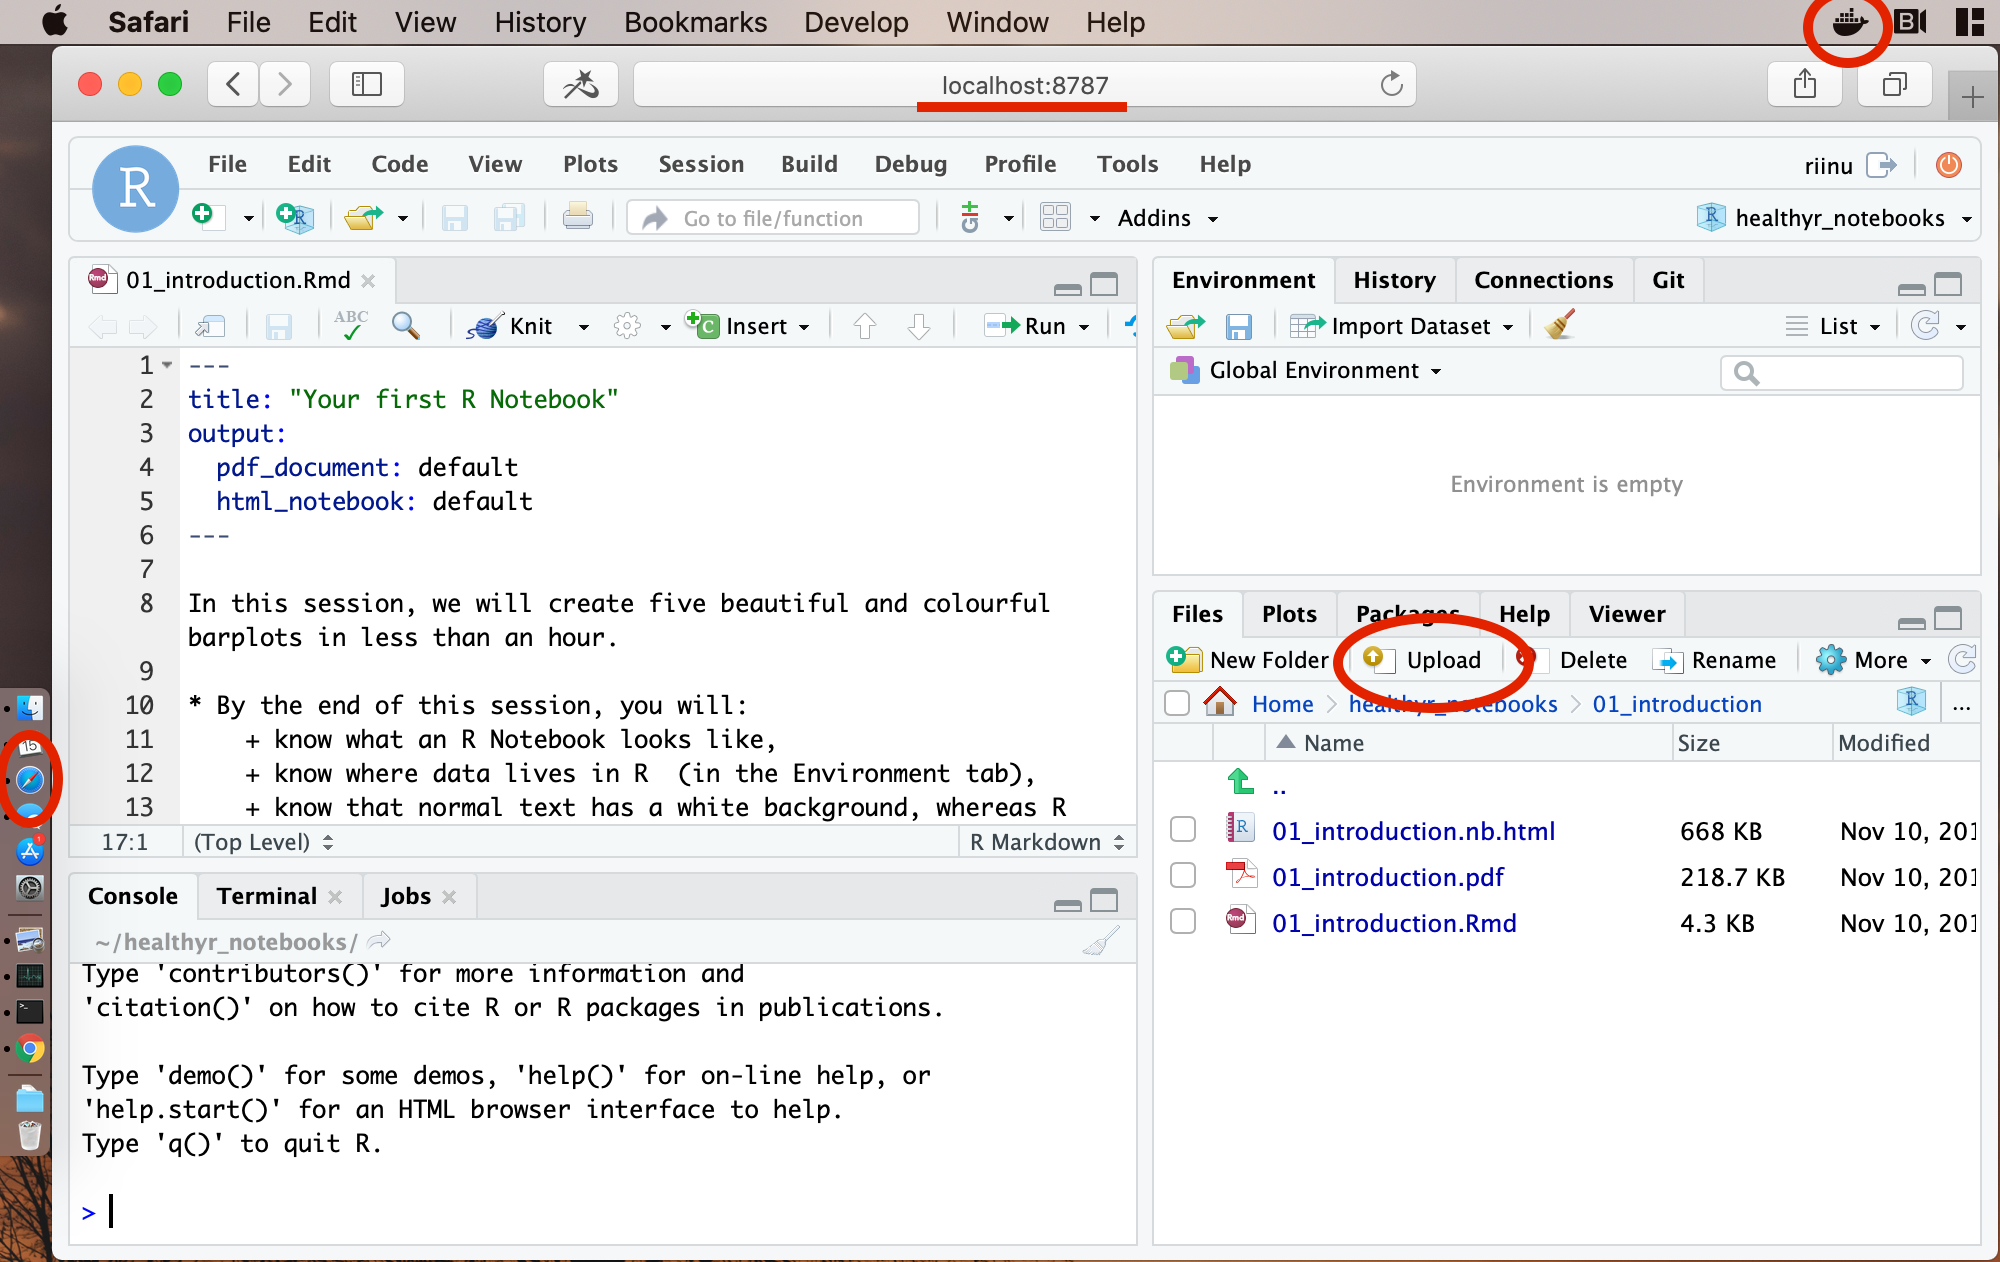
For those of you who have never seen or used RStudio Server, this is what it looks like:

Rstudio Server is almost identical to RStudio Desktop. Main difference is the “Upload” button in the Files pane. This one is running in a Docker container, served at port 8787, and accessed using Safari (but any web browser will work).
The Docker single-liner above will create a single user with sudo rights (since I’ve included -e ROOT=TRUE). After logging into the instance, you can then add other users and copy the course materials to everyone using these scripts: https://github.com/einarpius/create_rstudio_users Note that the instance is running Debian, so you’ll need very basic familiarity with managing file permissions on the command line. For example, you’ll need to make the scripts executable with chmod 700 create_users.sh.
Then connect to the same router you’ll be using for your LAN party, go to router settings and assign yourself a fixed IP address, e.g., 168.192.1.78. Once other people connect to the network created by this router (either by WiFi or cable), they need to type 168.192.1.78:8787 into any browser and can just start using RStudio. This will work as long as your computer is running Docker and you are all connected to the same router.
I had 10 people connected to my laptop and, most of the time, the strain on my CPU was negligible - around 10-20%. That’s because it was a course for complete beginners and they were mostly reading the instructions (included in the training Notebooks they were running R code in). So they weren’t actually hitting Run at the same time, and the tasks weren’t computationally heavy. When we did ask everyone to hit the “Knit to PDF” button all at the same time, it got a bit slower and my CPU was apparently working at 200%. But nothing crashed and everyone got their PDFs made.
Why are you calling it a LAN party?

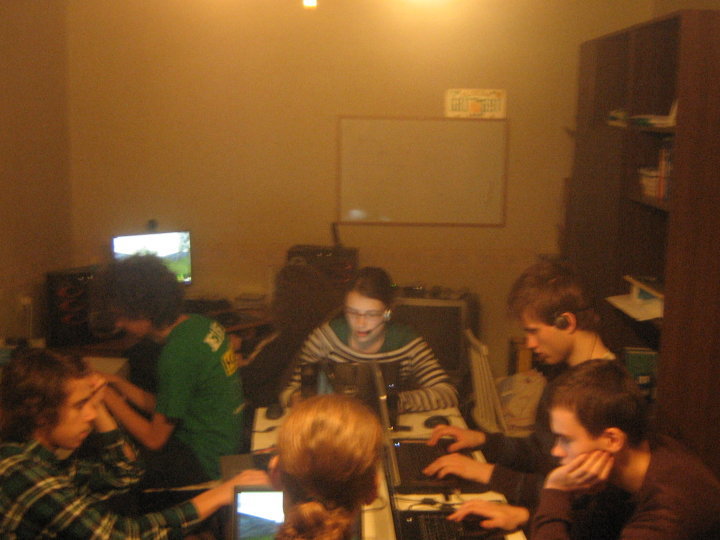
My friends and I having a LAN party in Estonia, 2010. We would mostly play StarCraft or Civilization, or as pictured here - racing games to wind down at the end.
LAN stands for Local Area Network and in most cases means “devices connected to the same WiFi*”. You’ve probably used LANs lots in your life without even realising. One common example is printers: you know when a printer asks you to connect to the same network to be able to print your files? This usually means your computer and the printer will be in a LAN. If your printed accepted files via any internet connection, rather than just the same local network, then people around the world could submit stuff for your printer. Furthermore, if you have any smart devices in your home, they’ll be having a constant LAN party with each other.
The term “LAN party” means people coming together to play multiplayer computer games - as it will allow people to play in the same “world”, to either build things together or fight with each other. Good internet access has made LAN parties practically obsolete - people and their computers no longer have to physically be in the same location to play multiplayer games together. I use the term very loosely to refer to anything fun happening on the same network. And being able to use RStudio is definitely a party in my books anyway.
But it is for security reasons (e.g., the printer example), or sharing resources in places without excellent internet connection where LAN parties are still very much relevant.
* Overall, most existing LANs operate via Ethernet cables (or “internet cables” as most people, including myself refer to them). WiFi LAN or WLAN is a type of LAN. Have a look at your home router, it will probably have different lights for “internet” and “WLAN”/“wireless”. A LAN can also be connected to the internet - if the router itself is connected to the internet. That’s the main purpose of a router - to take the internet coming into your house via a single Ethernet cable, and share it with all your other devices. A LAN is usually just a nice side-effect of that.
Docker, containers, images
Docker image - a file bundling an operating system + programs and files Docker container - a running image (it may be paused or stopped)
List of all your containers: docker ps -a (just docker ps will list running containers, so the ones not stopped or paused)
List your images: docker images
Run a container using an image:
docker run -d -p 8787:8787 -e ROOT=TRUE -e USER=user -e PASSWORD=password rstudio/verse When you run rstudio/verse for the first time it will be downloaded into your images. The next time it will be taken directly from there, rather than downloaded. So you’ll only need internet access once.
Stop an active container: docker stop container-name
Start it up again: docker start container-name
Save a container as an image (for versioning or passing on to other people):
docker commit container-name pository:tag
For example: docker commit rstudio-server rstudio/riinu:test1
Rename container (by default it will get a random label, I’d change it to rstudio-server):
docker rename happy_hippo rstudio-server
You can then start your container with: docker start rstudio-server